Build a Task Management Application with React-Beautiful-DnD - Part 1
I am a Software Engineer with experience in building web and mobile applications.
Task management applications with drag and drop features like Trello and Jira are aplenty on the web. Building such applications with the custom HTML drag and drop API can be a difficult task to achieve. For a framework like React, several packages like React beautiful-dnd(from Atlassian) and React-dnd gives developers the opportunity to build a standard drag and drop. Having experimented with both packages, the React Beautiful-DnD is easy to implement although React-DnD seems to have more features.
In this article, we will be building a Task Management application with the React Beautiful-Dnd library.
React Beautiful DnD
React-Beautiful-DnD is an open source library from Atlassian (the owner of Jira) for building beautiful drag and drop lists which could be vertical, horizontal or nested lists. It is an easy to implement package which offers a powerful, natural and beautiful drag and drop experience. Its core design idea is centred around the feel of moving items around.
Understanding the Library API The diagram provides a graphical representation of how the underlying API works.
From the diagram above, three major components need to be clearly understood.
<DragDropContext/>This is the wrapper that makes drag and drop enabled for the part of the application you want it enabled. It expects responders likeonDragEnd(required),onDragStart,onDragUpdateandonBeforeDragStart. We will explore this later in this article.<Droppable/>As the name implies, it refers to the area that can be dropped into. In our context, it can be seen as the column you want to drop into. It requires adroppableIdwhich is a string to make it work else, it will distort the items in it.<Draggable />components are items that can be dragged and dropped inside a<Droppable />. It also require adraggableIdas an identifier to make it work.
Building the Task Management Application
We will be building a task tracking application with at least two different columns where a task can be moved from one column to another or within the same column. We will use React to bootstrap the application and explore the React-beautiful-dnd for the drag and drop feature.
Creating the project and Installation
Let’s start by bootstrapping a new React application called task-tracker(or whatever you want to name it) using create-react-app. Open your terminal and run the following command:
npx create-react-app task-tracker
You need to have Node >= 8.10 and npm >= 5.6 on your machine. Also note that
npxis a package runner tool that ensures that you run the latest version ofcreate-react-app. It comes bundled withnpm.
After the application has been created, navigate and open the project with your favourite code editor(I use Vscode) by running the command in your terminal or command line(for windows users).
cd task-tracker && code .
Let's install our React-beautiful-dnd with
#yarn
yarn add react-beautiful-dnd
#or npm
npm install react-beautiful-dnd --save
Start the server by running
#yarn
yarn start

#or npm
npm run start
Open the App.js file and add the following code
# App.js
import React from 'react';
import { DragDropContext } from 'react-beautiful-dnd';
function App() {

  const onDragEnd = result => {
    console.log(result)
  }
  return (
    <DragDropContext
      onDragEnd={onDragEnd}
    >
      <div>
        Task Management App
      </div>
    </DragDropContext>
  );
}
export default App;
This makes the the Drag and Drop functionalities that React-beautiful-dnd provides available across our application.
Let’s build the design and add data for a single column of items. Create 2 files DropContainer.js and DraggableItem.js inside the src folder. Update the App.js, DropContainer.js and DraggableItem.js files with the following code
#App.js
import React, { useState } from 'react';
import { DragDropContext } from 'react-beautiful-dnd';
import DropContainer from './DropContainer';
#Generates dummy data
const generateData = count =>
  Array.from({ length: count }, (i, j) => j).map(j => ({
    id: `task-${j}`,
    content: `task ${j}`
  }));
function App() {
  const [data] = useState(generateData(10));
  const onDragEnd = result => {
    console.log(result)
  }
  return (
    <div className='container'>
      <h2>React Beautiful DnD</h2>
      <DragDropContext
        onDragEnd={onDragEnd}
      >
        <DropContainer {...{data}} />
      </DragDropContext>
    </div>
  );
}
export default App;
########## DropContainer.js ##################
import React from 'react';
import { Droppable } from 'react-beautiful-dnd';
import DraggableItem from './DraggableItem';
function DropContainer({data}) {
    const getListStyle = isDraggingOver => ({
        background: isDraggingOver ? "lightblue" : "lightgrey",
        padding: 8,
        width: 250,
        boxShadow: '0px 4px 6px rgba(255,255, 255, 0.3)',
        margin: '10px auto'
    });
    return (
        <Droppable
          droppableId="droppable">
          {(provided, snapshot) => (
            <div
              {...provided.droppableProps}
              ref={provided.innerRef}
              style={getListStyle(snapshot.isDraggingOver)}>
              <h3>To do</h3>
              {data.map((item, index) => (
                <DraggableItem
                    key={index}
                    {...{item, index}}
                />
              ))}
              {provided.placeholder}
            </div>
          )}
        </Droppable>
    )
}
export default DropContainer
############# DraggableItem.js ###########################
import React from 'react';
import { Draggable } from 'react-beautiful-dnd';
function DraggableItem({ item, index }) {
    const getItemStyle = (isDragging, draggableStyle) => ({
        // some basic styles to make the items look a bit nicer
        userSelect: "none",
        padding: 16,
        margin: '0 0 8px 0',
        borderRadius: 5,

        // change background colour, border and text color if dragging
        background: isDragging ? "#018080" : "white",
        border: isDragging ? '0' : '1px solid #bbb',
        color: isDragging ? 'white' : '#000',

        // styles we need to apply on draggables
        ...draggableStyle
      });
    return (
        <Draggable
            key={item.id}
            draggableId={item.id}
            index={index}
            >
            {(provided, snapshot) => (
                <div
                    ref={provided.innerRef}
                    {...provided.draggableProps}
                    {...provided.dragHandleProps}
                    style={getItemStyle(
                        snapshot.isDragging,
                        provided.draggableProps.style
                      )}
                >
                    {item.content}
                </div>
            )}
        </Draggable>
    )
}
export default DraggableItem;
Let's add css to our app. Open index.css and add the following
.container {
  margin: 10px 3em;
  display: flex;
  justify-content: center;
  flex-direction: column;
  align-content: center;
}
.container > h3, .container > h2 {
  text-align: center;
  font-weight: bold;
}
Go to the browser, your application should look like this
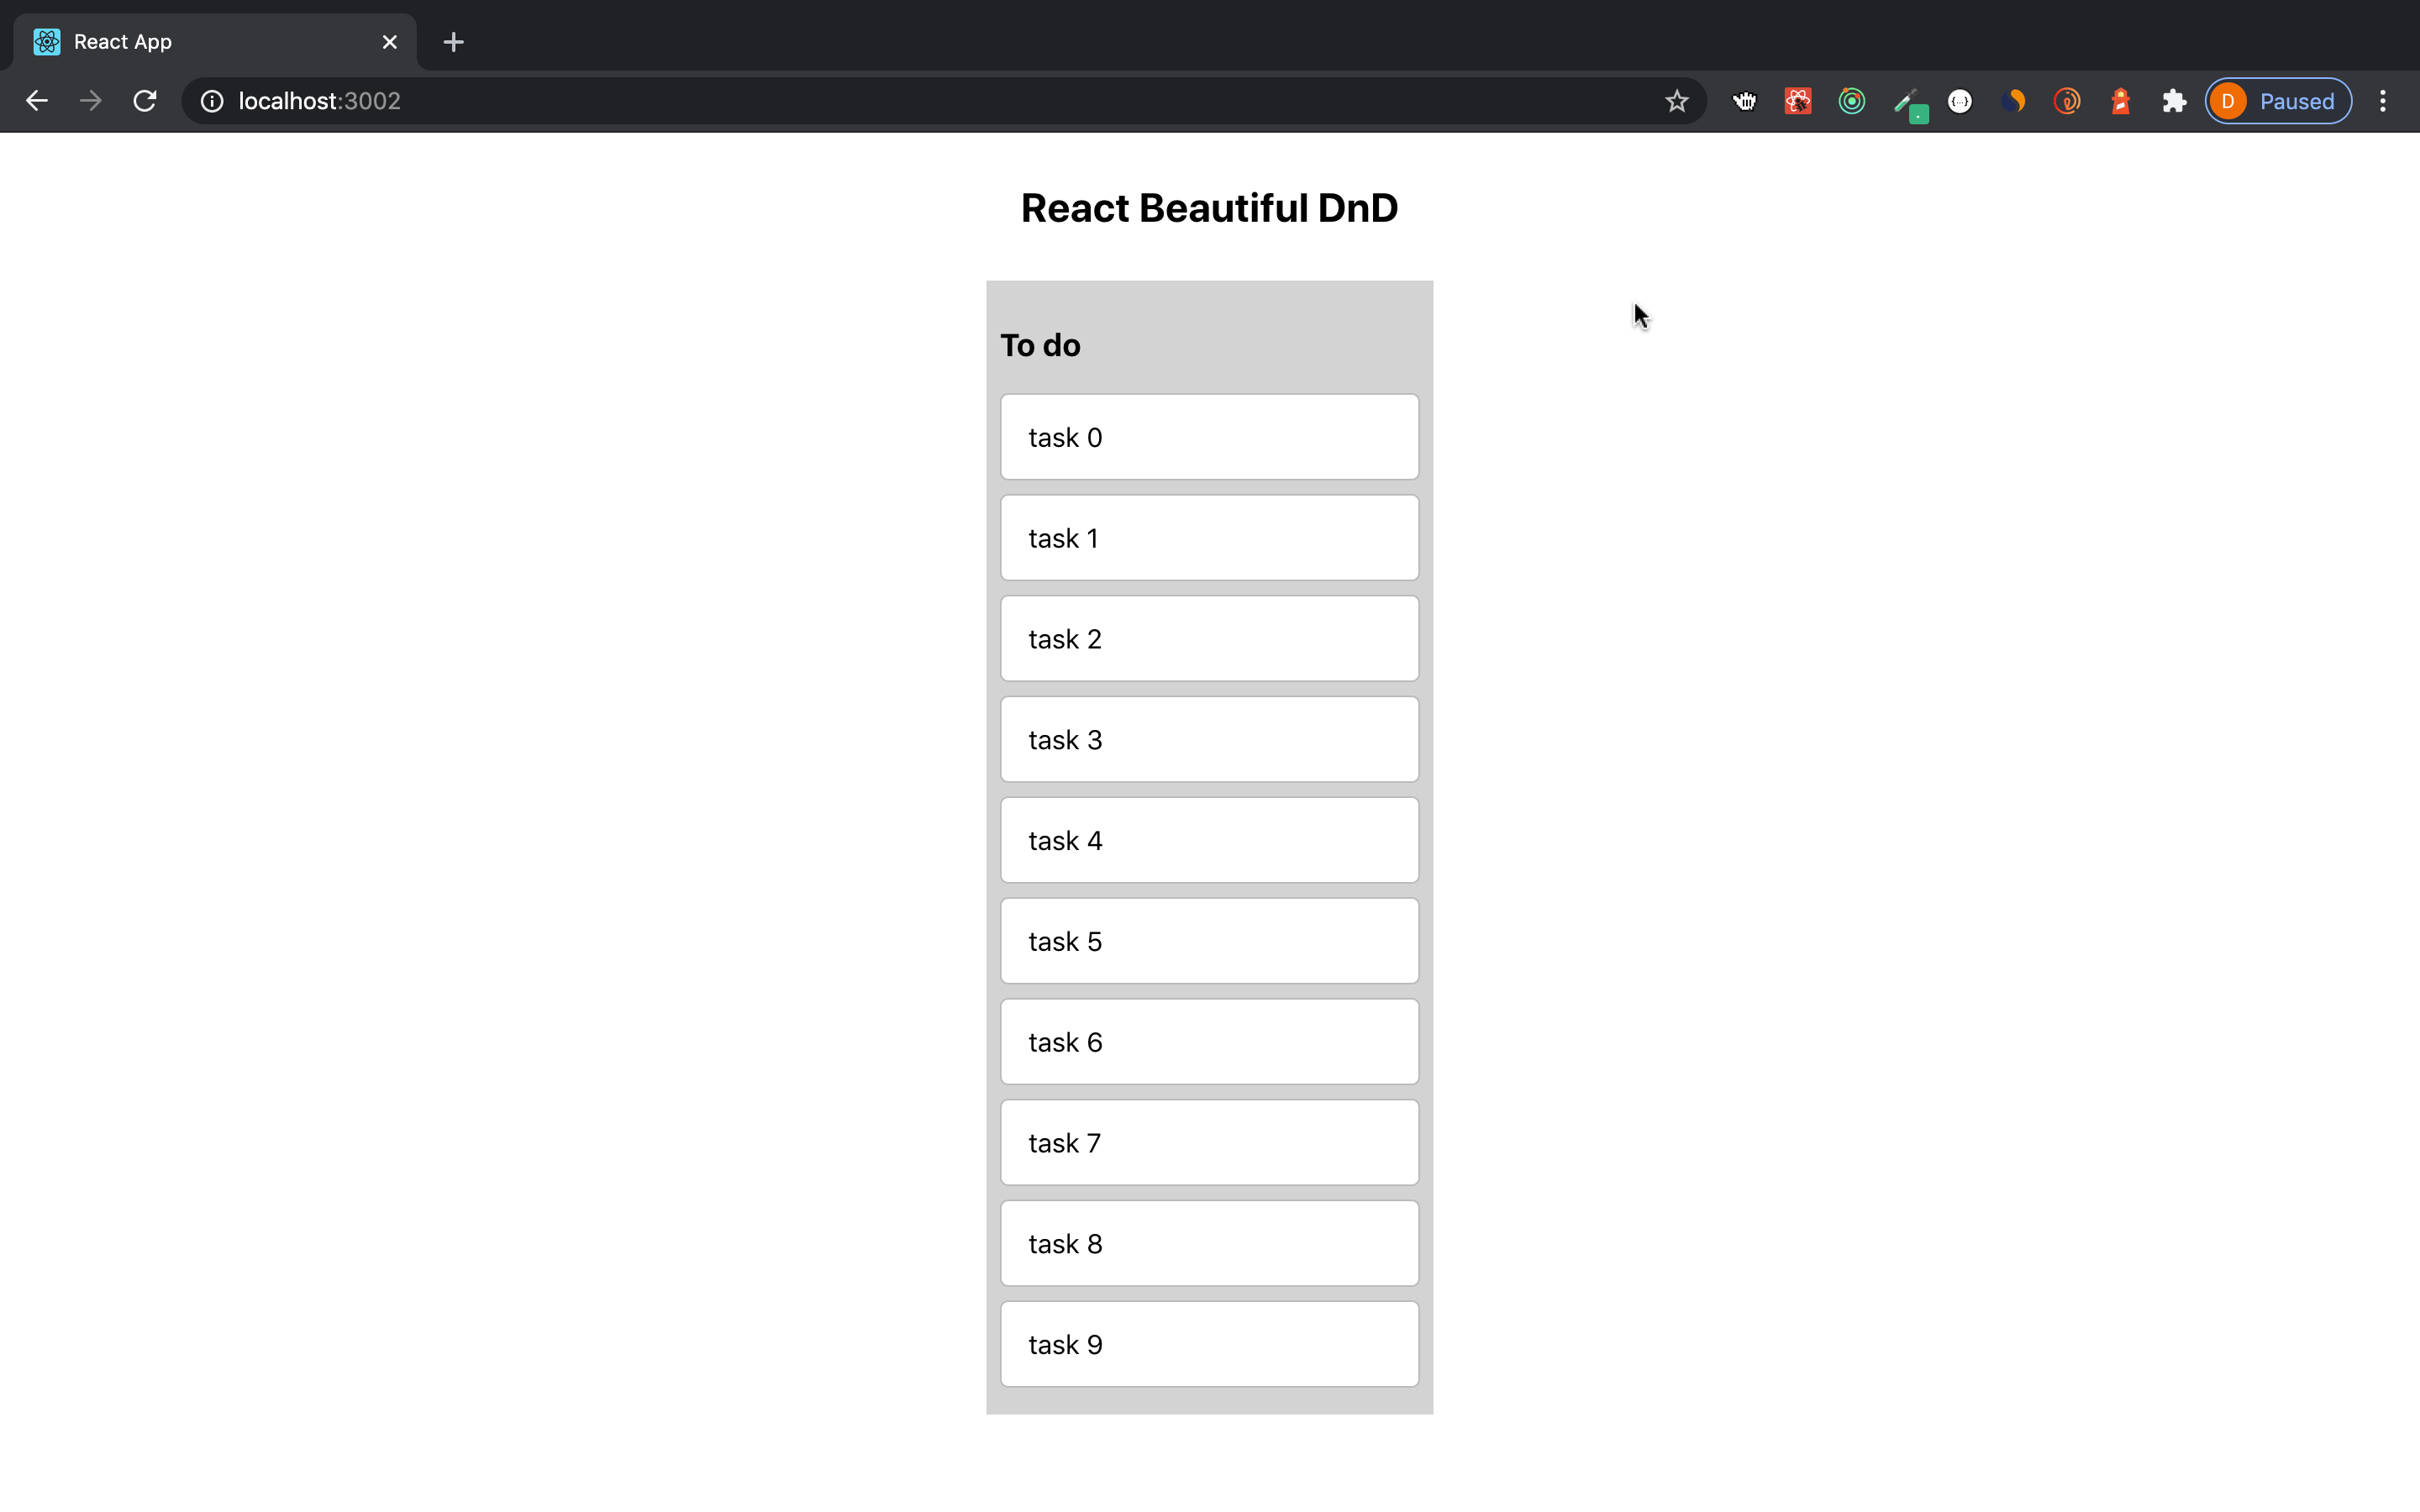
From our App.js, we wrapped the DropContainer component inside the DragDropContext to enable the drag and drop feature. We also have a custom data generator function generateData which helps us generate dummy data we want to test the application with. The onDragEnd is the responder(function) required in the DragDropContext. It accepts the result when an item is dragged from one position to another. If you check the console, you should see the result in this format - we should keep an eye on it.
{ combine: null, destination: {droppableId: "droppable", index: 2}, draggableId: "task-1", mode: "FLUID", reason: "DROP", source: {index: 1, droppa bleId: "droppable"}, type: "DEFAULT" }
The DropContainer component accepts a data prop from App.js. This holds the Droppable component from our React-Beautiful-DnD library. Note that it requires a DroppableId which must be a string. The children of a Droppable must be a function that returns a ReactElement. This function contains two arguments - provided and snapshot and they have their functionalities. The provided.innerRef must be bound to the highest possible DOM node in the ReactElement in order to avoid using the ReactDOM while the provided.placeholder is used to create space in the Droppable. The snapshot is used to get the current state when dragged. See the docs for more details.
Similar to the Droppable, the Draggable in the DraggableItem requires two props; a DraggableId which must also be a string and an index which must be consecutive numbers. The children of a Draggable must be a function and return a ReactNode. See the docs for more info on Draggable.
Let the dragging begin
When you drag an item, it moves nicely(thanks to the inbuilt animation) from its source to the destination but when you drop it, it goes back to its source again. This is because we are not persisting the movement of the item from one position to another. Now, let’s achieve that.
Let’s go to our App.js and focus on the function (onDragEnd) called when a task is moved.
We will write another function called reorder that will help us update our data array and return the result. Our App.js should look like this
#App.js
import React, { useState } from 'react';
import { DragDropContext } from 'react-beautiful-dnd';
import DropContainer from './DropContainer';
const generateData = count =>
  Array.from({ length: count }, (i, j) => j).map(j => ({
    id: `task-${j}`,
    content: `task ${j}`
  }));
function App() {
  const [data, setData] = useState(generateData(10));

  const onDragEnd = result => {
    const { source, destination } = result;
    if(!destination) {
      return;
    }
    const tasks = reorder(data, source.index, destination.index);
    setData(tasks);
  }

  const reorder = (data, startIndex, endIndex) => {
    # create a copy of the data array
    const result = [...data];
    # remove dragged item from its position
    const [removed] = result.splice(startIndex, 1);
    # insert the removed item into the desired destination
    result.splice(endIndex, 0, removed);

    return result;
  };
  return (
    <div className='container'>
    <h2>React Beautiful DnD</h2>
      <DragDropContext
        onDragEnd={onDragEnd}
      >
        <DropContainer {...{data}} />
      </DragDropContext>
    </div>
  );
}
export default App;
Inside the onDragEnd function, we de-structure the source and destination from the result object. We do nothing if there is no destination (there are situations where there will be no destination i.e null). If there is a destination, we then pass the data, startIndex and the endIndex inside the reorder function which returns an updated array. This updated array is assigned to tasks which is used to update the data by calling setData.
In the reorder function, we clone the array first, remove the item from its position and insert it into the desired position it is being dropped.
Conclusion
Here, we have been able to explore the drag and drop feature for a single column of items using the React-beautiful-dnd. In the concluding part , we will explore for multiple columns. Stay tuned!

