Build a Task Management Application with React-Beautiful-DnD - Part 2
I am a Software Engineer with experience in building web and mobile applications.
This is the concluding part of this tutorial. In Part 1, we discussed, in details, the principles and architectural design of the React-beautiful-dnd and built a demo for a single column of items. In this final part, we will extend our demo for multiple columns.
Multiple columns.
We have established the concept of drag and drop for items in a single column. Let us extend our implementation for multiple columns. First, we need to update our App.js, DropContainer.js files and also the .container class in our index.css file to have our desired design. Inside the App.js file, we will add another function move to help us handle the movement of card items across multiple columns. Our updated file should be like this
# App.js
import React, { useState } from 'react';
import { DragDropContext } from 'react-beautiful-dnd';
import DropContainer from './DropContainer';

# generate dummy data
const generateData = (category, count) =>
  Array.from({ length: category }, (i, j) => j).map(j => ({
    id: `${j}`,
    category: `To Do - ${j + 1}`,
    content: Array.from({ length: count }, (m, n) => n).map(n => ({
      id: `task-${j}-${n}`,
      content: `task ${j}-${n}`
    }))
  }));
function App() {
  const [data, setData] = useState(generateData(3, 10));

  const onDragEnd = result => {
    const { source, destination } = result;
    // When there is no destination, the card returns back to its position
    if(!destination) {
      return;
    }
    // Get source and destination columns
    const sourceIndex = +source.droppableId;
    const destIndex = +destination.droppableId;
    // The same column
    if(sourceIndex === destIndex) {
      const tasks = reorder(data[sourceIndex].content, source.index, destination.index);
      const newData = [...data];
      newData[sourceIndex].content = tasks;
      setData(newData);
    } else {
      const result = move(data[sourceIndex].content, data[destIndex].content, source, destination);
      const newData = [...data];
      newData[sourceIndex].content = result[sourceIndex];
      newData[destIndex].content = result[destIndex];
      setData(newData);
    }

  }
 # move items within a column
  const reorder = (data, startIndex, endIndex) => {
    const clonedData = Array.from(data);
    const [removed] = clonedData.splice(startIndex, 1);
    clonedData.splice(endIndex, 0, removed);

    return clonedData;
  };
  // move item from one column to another
  const move = (source, destination, droppableSource, droppableDestination) => {
    const sourceClone = Array.from(source);
    const destClone = Array.from(destination);
    const [removed] = sourceClone.splice(droppableSource.index, 1);

    destClone.splice(droppableDestination.index, 0, removed);

    const result = {};
    result[droppableSource.droppableId] = sourceClone;
    result[droppableDestination.droppableId] = destClone;

    return result;
  };
  return (
    <div className='container'>
      <h2>React Beautiful DnD</h2>
      <DragDropContext
        onDragEnd={onDragEnd}
      >
        {
          data.map((data_, index) => <DropContainer key={index} {...{data: data_}} />)
        }
      </DragDropContext>
    </div>
  );
}
export default App;
############## DropContainer.js ##########
import React from 'react';
import { Droppable } from 'react-beautiful-dnd';
import DraggableItem from './DraggableItem';
function DropContainer({data}) {

    const getListStyle = isDraggingOver => ({
        background: isDraggingOver ? "lightblue" : "lightgrey",
        padding: 8,
        width: 250,
        boxShadow: '0px 4px 6px rgba(255,255, 255, 0.3)',
        margin: '10px auto'

    });
    return (
        <Droppable
          droppableId={data.id}>
          {(provided, snapshot) => (
            <div
              {...provided.droppableProps}
              ref={provided.innerRef}
              style={getListStyle(snapshot.isDraggingOver)}
            >
              <h3>{data.category}</h3>
              {data.content.map((item, index) => (
                <DraggableItem
                    key={index}
                    {...{item, index}}
                />
              ))}
              {provided.placeholder}
            </div>
          )}
        </Droppable>
    )
}
export default DropContainer;
Our index.css file should look like this
.container {
  margin: 10px 3em;
  display: flex;
  justify-content: center;
  /* flex-direction: column; */
  align-content: center;
}
.container > h3, .container > h2 {
  text-align: center;
  font-weight: bold;
}
Our application should look like the image below
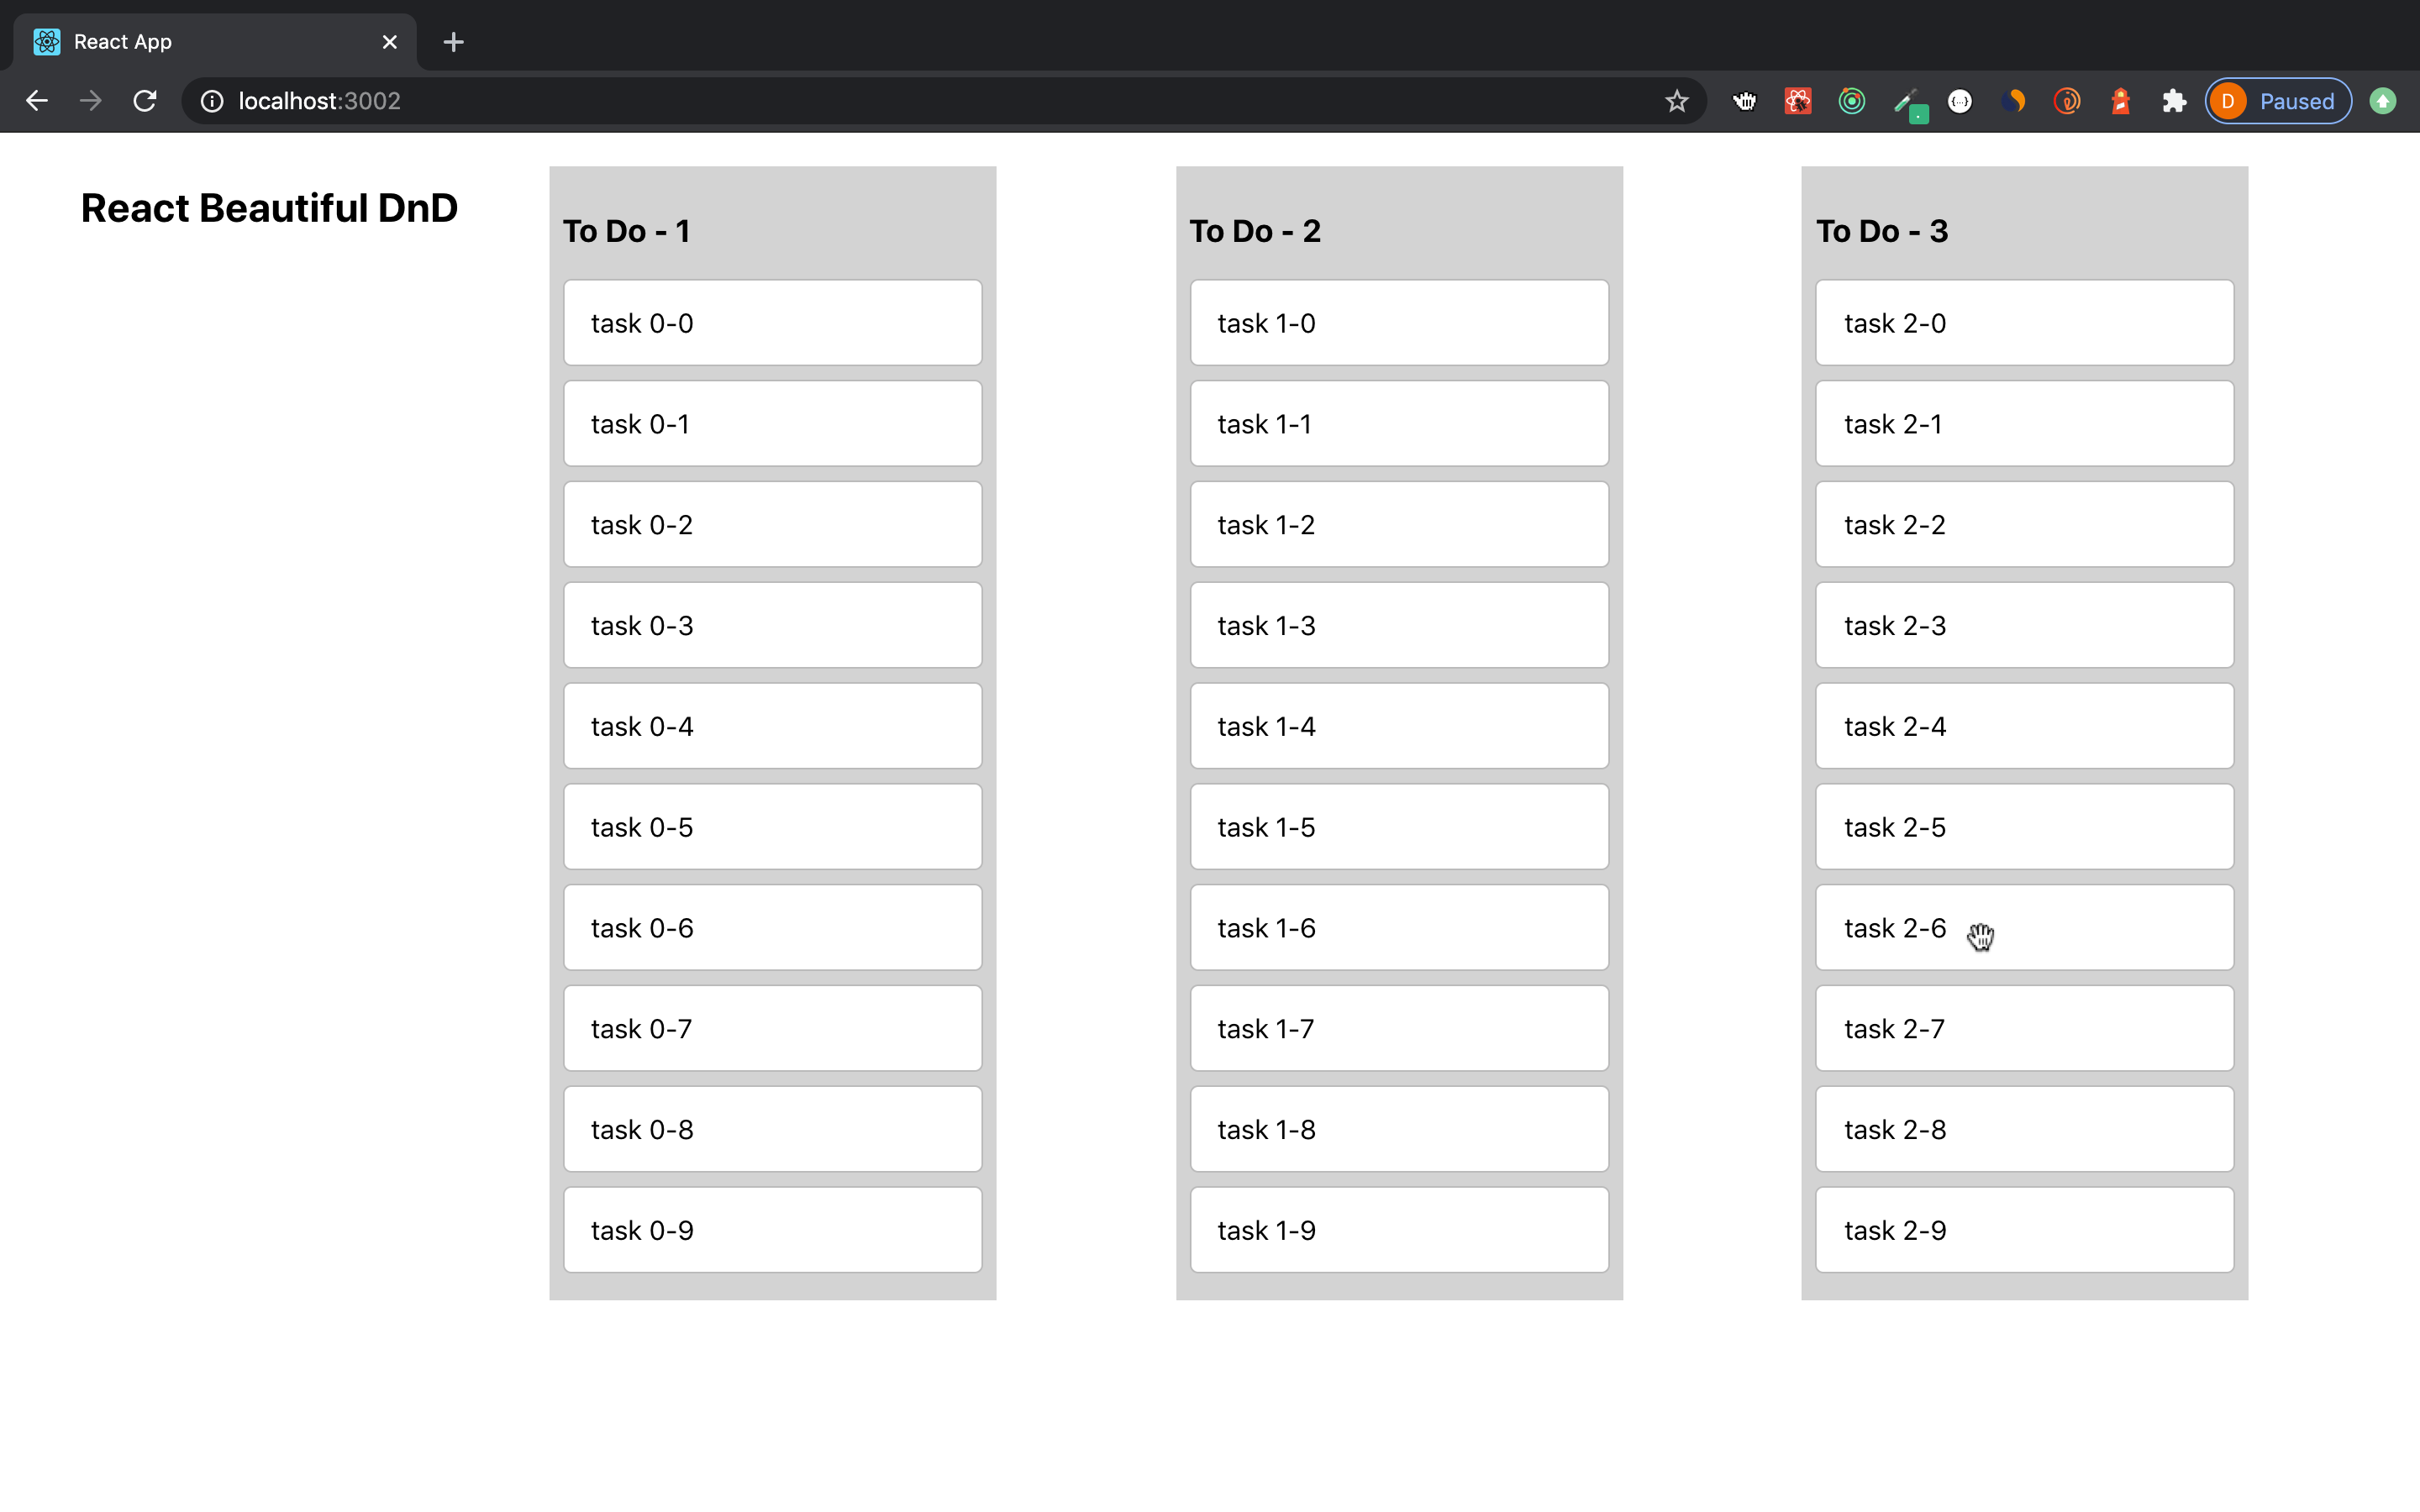
Let’s understand the logic we have written. In the App.js, the generateData function is used to generate our test data for the multiple columns. The data is an array of categories and each category contains an array of content. In the updated onDragEnd function, we get the source and destination index (columns) from +source.droppableId and +destination.droppableId.
If both values are the same, it means the movement of cards is done on the same column so we call the
reorderwhich we have established previously. Take note that the array we are updating is the content array of each column in the data array.If both values are not the same, it means the movement of cards is from one column to another, so the
movefunction we just created is called. This function accepts the source and destination arrays as well as the source and destination indexes. So we remove the item dragged from the source array and insert it into the desired position in the destination array. We then create a result object and pass the updated source and destination arrays into it.
This result object is then used to update the content of the newData array that was formed by cloning the original data array. To ensure that the data is updated as we move card items in real time, we need to update the main data array by updating the data state with setData(newData). You can go ahead and test our application by dragging an item from one todo column to another or within the same column.
In our DropContainer.js , we changed the droppableId to the column id so that it will be unique, otherwise, you will run into unpleasant errors. We then loop through the content array to render each tasks.
Conclusion
We have been able to build a Trello-like task tracker application using the React-Beautiful-DnD package built by Atlassian. So far, we have explored the basic functionalities and established some understanding to help anyone leverage on to build applications of this sort. However, there are other functionalities like multiple drag and drop, nested lists etc that this awesome library supports. A deep dive into the document, coupled with what we have learnt will help navigate through the waters.
References
React-Beautiful-DnD , Atlassian documentation.
Splicing Arrays , MDN

